
Embedding the widget
Install the widget package and add it to your website's code.
Confetti ships as an npm package, @opengovsg/confetti, with a React
component for every survey style.
An engineer adds one of these components to your site to start collecting
responses.
Want the widget to render with no runtime dependency on the Confetti CDN, or to build your own survey UI from scratch? See Building blocks below.
Whitelist your website
Click Team settings on the homepage, then add your website under Authorised Domains.
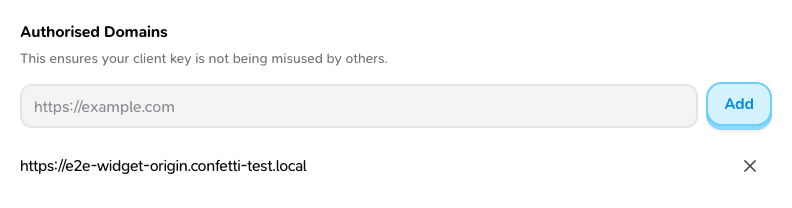
To test locally, add localhost too, e.g. http://localhost:3000.
Use a managed proxy (optional)
Team owners can add a customer subdomain under Team settings → Managed
Proxies. Create the DNS-only CNAME shown by Confetti and wait for the status
to become Live. Copy the Live proxy URL from that page and pass it as
proxyUrl on the widget component; allowlist the same subdomain in your
Content Security Policy instead of confetti.gov.sg.
A managed proxy serves the widget script, stylesheet, and API from your own subdomain. This keeps Confetti traffic first-party.
Install the package
npm install @opengovsg/confettipnpm add @opengovsg/confettiyarn add @opengovsg/confettiRequires React 18.2+ or React 19.
Get your survey ID and publishable key
Open the survey's Setup tab, choose a presentation style, and click
<> Get code snippet.
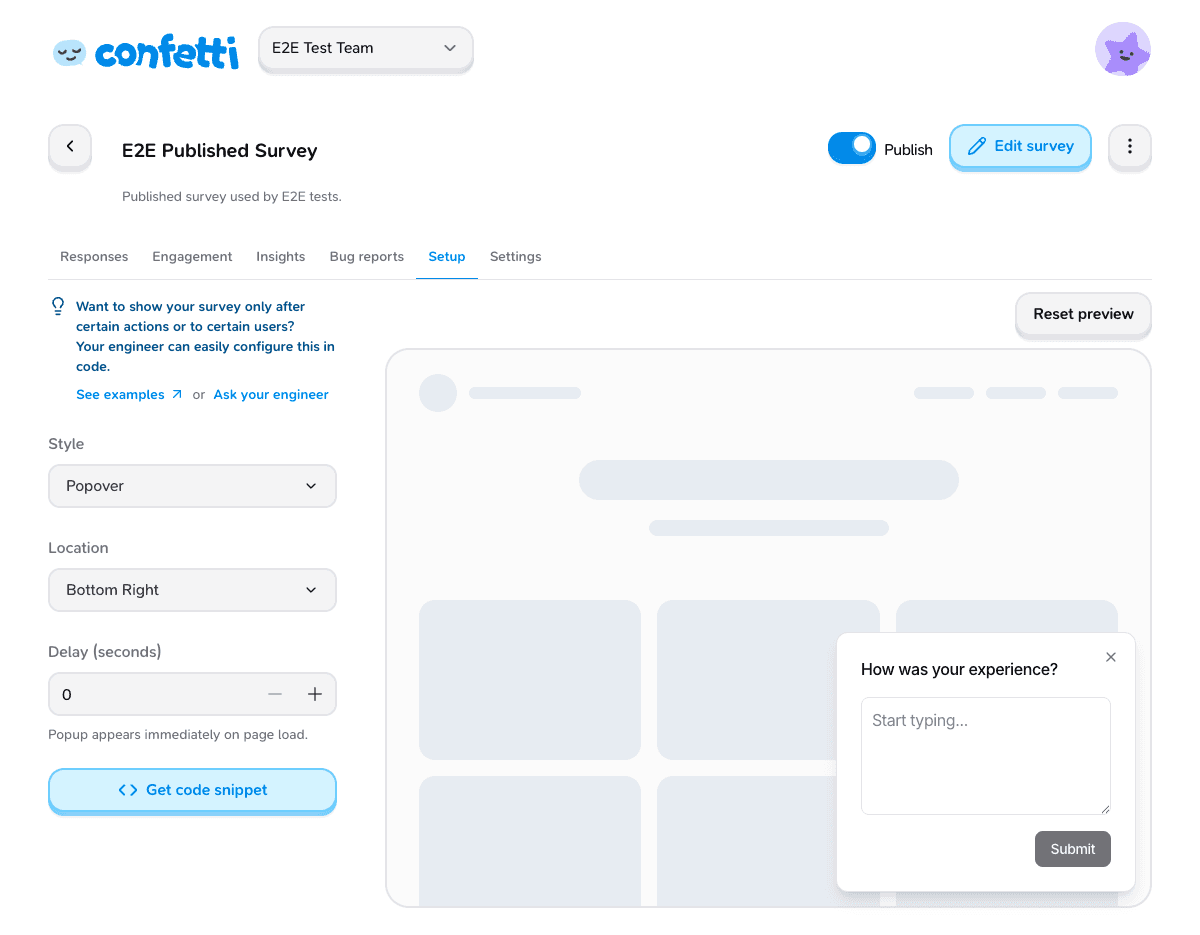
The modal that opens is pre-filled with your survey ID and team's publishable key.
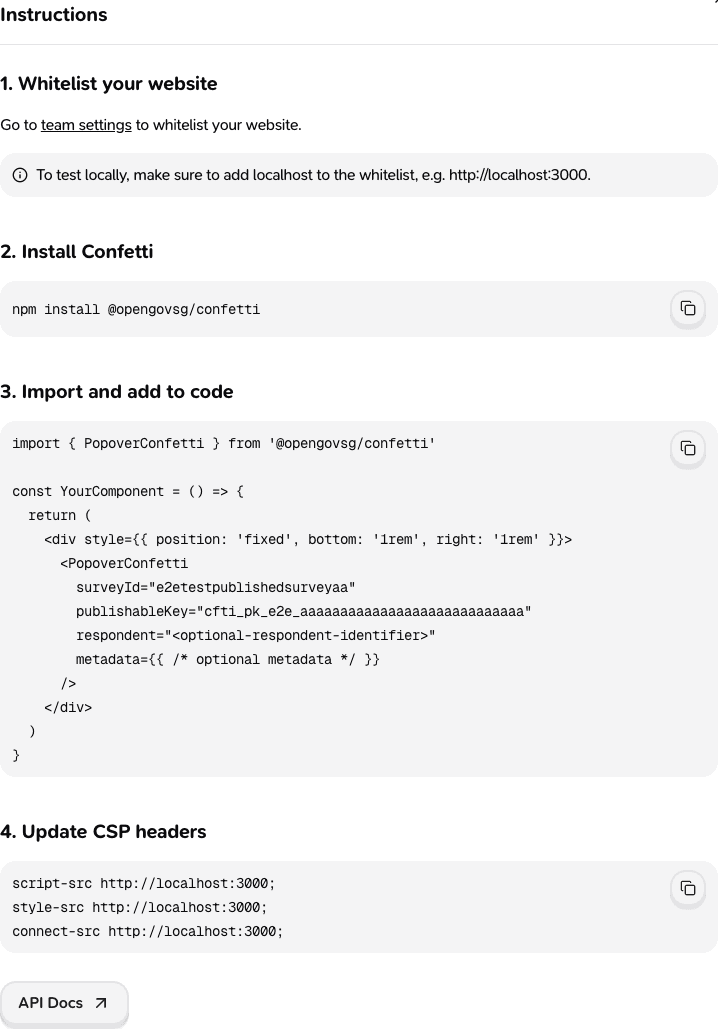
Add the widget to your code
Pick the template component that matches the style you chose, and drop it into your page:
import { PopoverConfetti } from '@opengovsg/confetti'

const YourComponent = () => {
  return (
    <div style={{ position: 'fixed', bottom: '1rem', right: '1rem' }}>
      <PopoverConfetti
        surveyId="<your-survey-id>"
        publishableKey="<your-publishable-key>"
        respondent="<optional-respondent-identifier>"
        metadata={{/* optional metadata */}}
      />
    </div>
  )
}
The component loads its script bundle and stylesheet from the Confetti CDN at runtime, so there's no CSS to import here.
Update your CSP headers
The widget loads its script and stylesheet from the CDN and calls the API, so allowlist all three against the Confetti origin:
script-src https://confetti.gov.sg;
style-src https://confetti.gov.sg;
connect-src https://confetti.gov.sg;
If you use a managed proxy, replace https://confetti.gov.sg with your proxy
origin in each directive.
Choosing a template
| Component | Use case | Behaviour |
|---|---|---|
EmbeddedConfetti | Inline surveys, feedback sections | Renders questions inline with a submit button |
ModalConfetti | Interruptive, centered surveys | Centered modal overlay, questions shown inline with a submit button |
PopoverConfetti | Floating feedback widgets | Dismissible popover, step-by-step questions, auto-submits |
TriggerPopoverConfetti | Feedback launcher button | Renders a trigger button that opens a dismissible popover survey; reopenable |
StepperConfetti | Guided surveys | One question at a time, auto-submits after the last question |
All five accept surveyId, publishableKey, respondent, metadata,
autoInjectAnalyticsMetadata, and isSurveyVisible (see when to show the
survey for cool-downs and other visibility
rules).
If your CSP can't allowlist a third party host, pass proxyUrl with the
origin of a Confetti managed proxy, or a reverse proxy you operate that
forwards the widget's /api and /widget paths to Confetti — see the
Cloudflare Workers proxy guide for a
worked DIY example and the exact routes and headers to forward.
Setting proxyUrl alone, without that proxy in place, will 404.
Opting into analytics metadata
Analytics metadata collection is disabled by default. Set
autoInjectAnalyticsMetadata to include identifiers exposed by PostHog and
Datadog RUM with each response:
<PopoverConfetti
  surveyId="<your-survey-id>"
  publishableKey="<your-publishable-key>"
  autoInjectAnalyticsMetadata
/>
The widget reads window.posthog and window.DD_RUM, and it never bundles
either SDK. @datadog/browser-rum assigns window.DD_RUM as soon as it is
imported, so Datadog needs no extra setup.
PostHog does not do this, so expose it yourself wherever you initialise it:
import posthog from 'posthog-js'

posthog.init('<your-project-token>', { api_host: '<your-api-host>' })

window.posthog = posthog
See PostHog's note on exposing the global object. If either SDK is unavailable, the widget skips its identifiers and still submits the response.
| Metadata key | Source |
|---|---|
posthog_distinct_id | posthog.get_distinct_id() |
posthog_session_id | posthog.get_session_id() |
datadog_rum_session_id | DD_RUM.getInternalContext() |
datadog_rum_user | DD_RUM.getUser(), JSON stringified |
datadog_rum_user_id, datadog_rum_user_email, datadog_rum_user_name | DD_RUM.getUser() standard fields |
Values passed explicitly through metadata always take precedence. To find a
Datadog session in Sessions Explorer, search for
@session.id:<datadog_rum_session_id>.
Building blocks
Need the survey to render entirely from your own bundle, with no runtime CDN
dependency?
The @opengovsg/confetti/static subpath ships EmbeddedConfetti,
ModalConfetti, PopoverConfetti, and StepperConfetti as self-contained
builds, plus ConfettiTrigger - a headless, render-prop version of the
trigger button for full control over its markup:
import '@opengovsg/confetti/confetti.css'

import { PopoverConfetti } from '@opengovsg/confetti/static'
Static builds still call the Confetti API at runtime to load the survey and
submit responses - they only skip the runtime CDN fetch for the JS and CSS
bundle, so import confetti.css yourself.
For full control over layout and look, @opengovsg/confetti/components
exports the lower-level primitives (ConfettiController, ConfettiProvider,
useSurvey, and more) that power every template above.
Need help?
- See when to show the survey for controlling when and to whom the survey appears.
- See custom styling to match the widget to your brand.
- Email confetti@open.gov.sg
- Slack #confetti (internal use only)
Was this page helpful?